INTRODUCTION
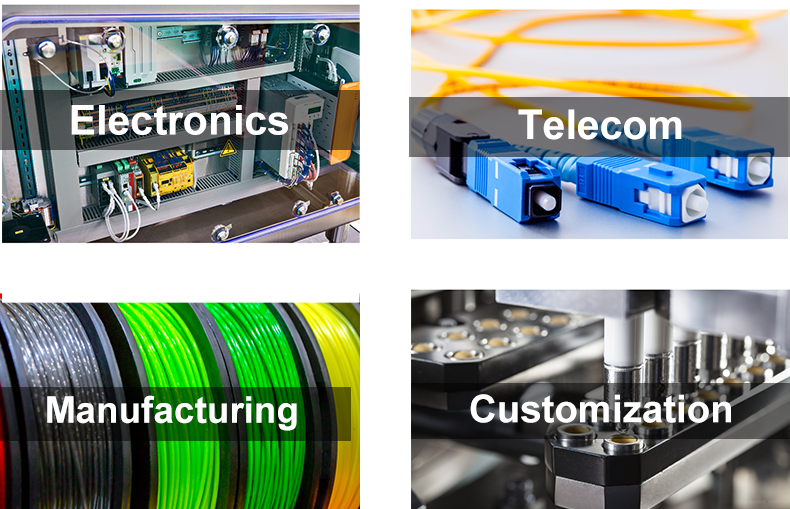
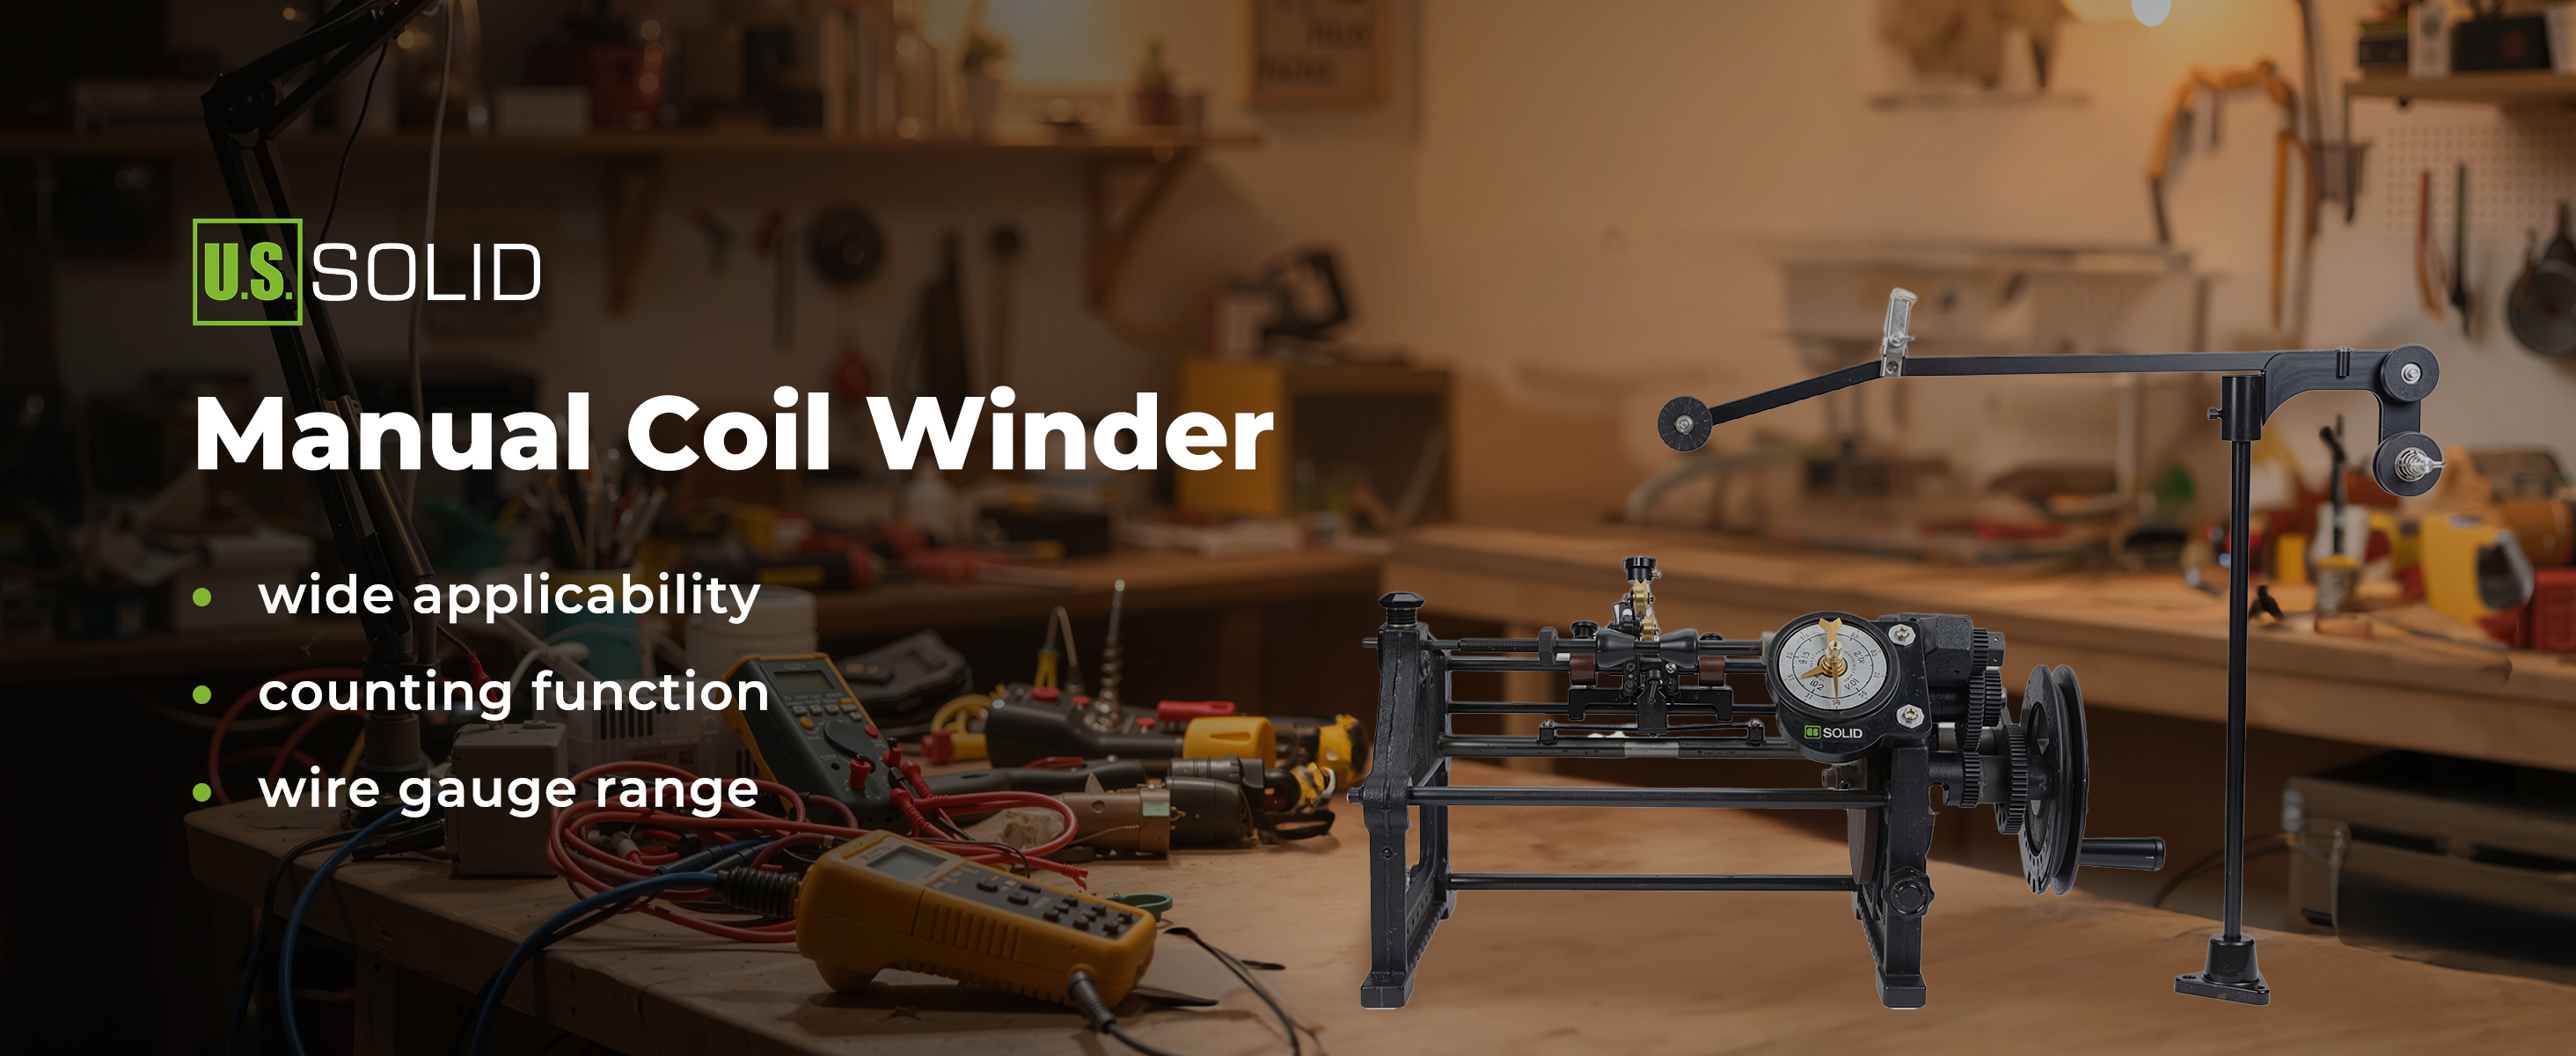
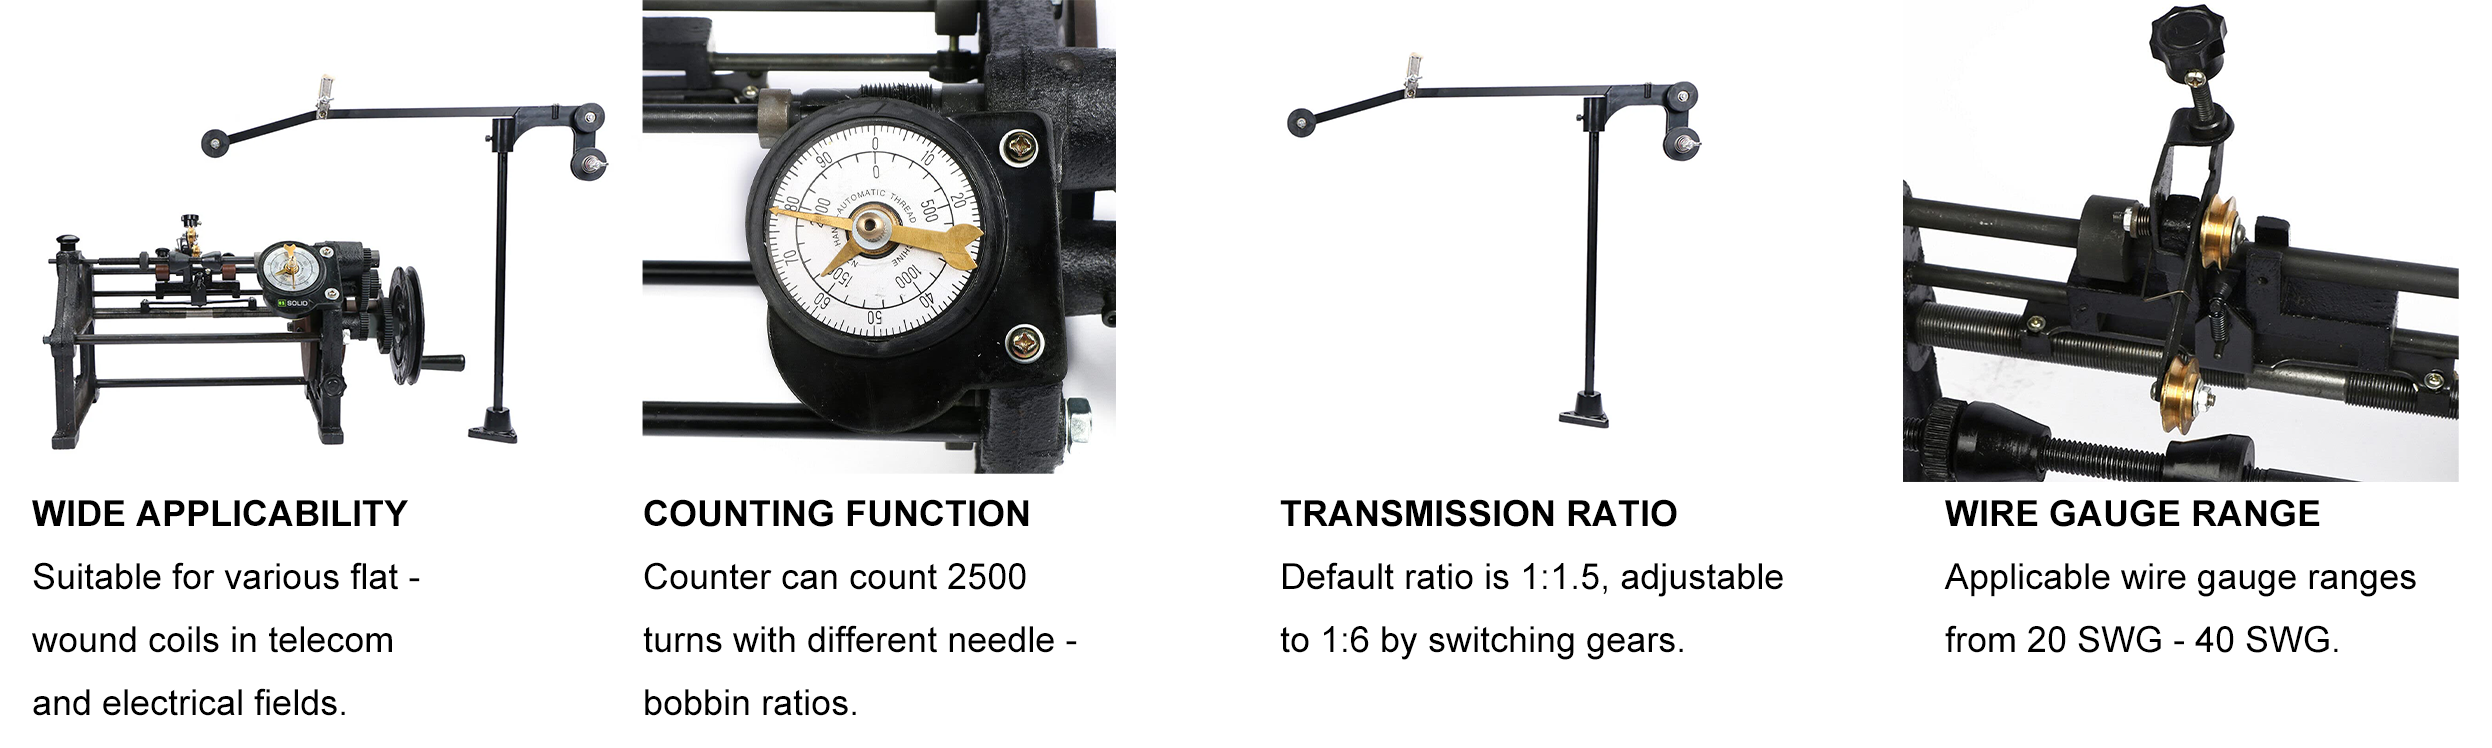
The Automatic Coil Winding Machine creates coils for a wide range of applications such as low frequency transformers, inductors, resistors, relays, solenoid valves, generators, and motors. Accepting wires with diameters between 0.12-0.91 mm, this machine has a great deal of flexibility. Two separate speeds gives you further control over the final product. A 1:6 speed ratio generally used for thinner wire creates coils in less time while the 1:1.5 speed ratio generally used for thick wires gives you more control over the final product. Either way, the output is a neat and evenly distributed coil with length up to 110 mm and a diameter between 12-150 mm.
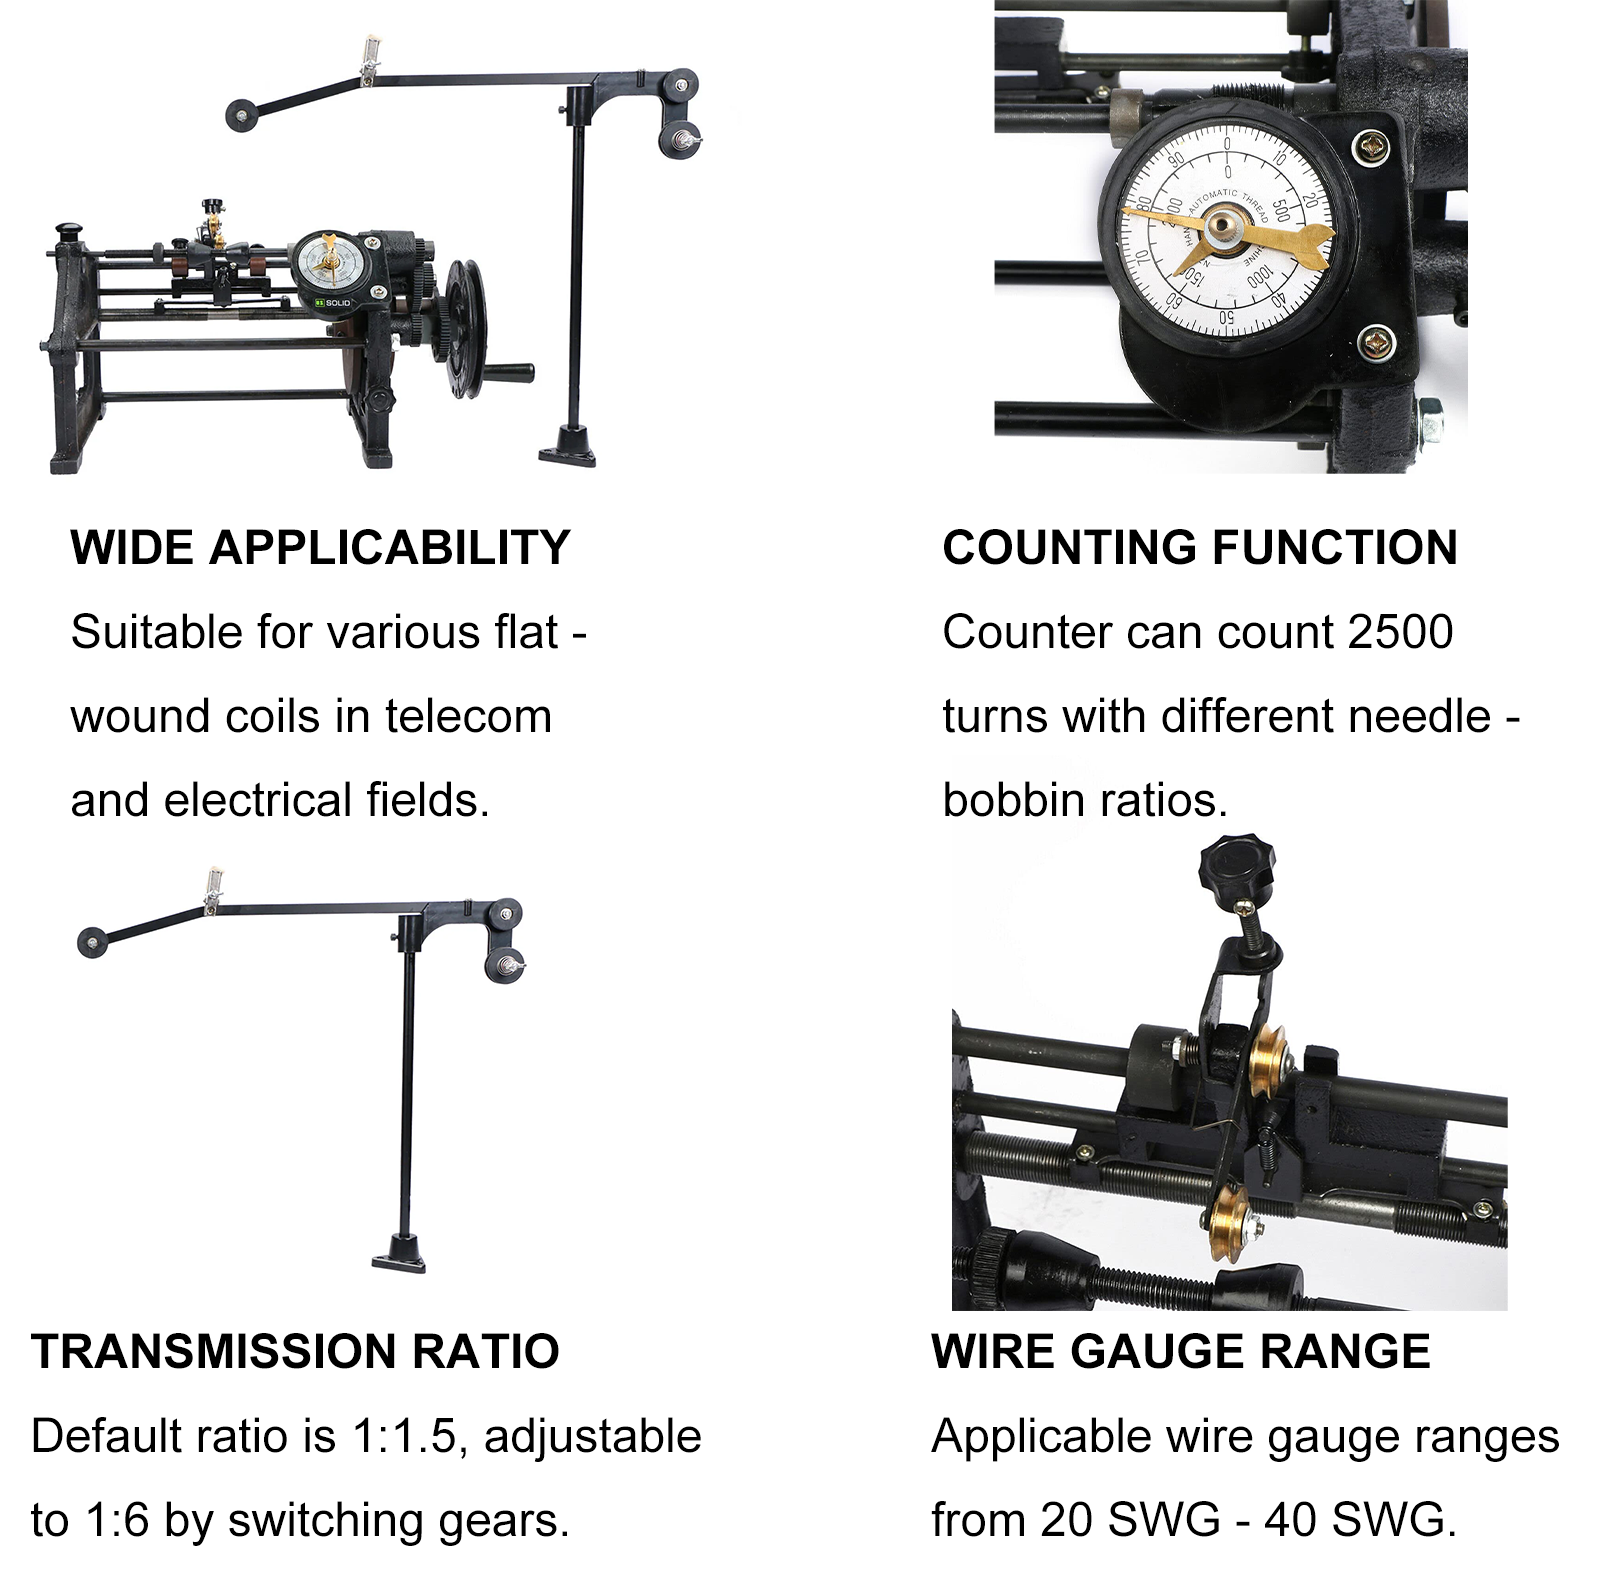
FEATURES
APPLICATIONS

SPECIFICATIONS
| Model | USS-HWM00003 | Brand | U.S. Solid |
|---|---|---|---|
| Applicable Diameter of Wires | 0.0047 - 0.0358" (0.12 - 0.91 mm) | Diameter of Coils Fit to be Wound | 0.4724 - 5.9055" (12 - 150 mm) |
| Length of Wire Disc Applying to the Wire-Discharging Stand | 3.3465" (85 mm) | Diameter of Wire Disc Applying to the Wire-Discharging Stand | 5.1181" (130 mm) |
| Length of Coils Fit to be Wound | 0.2362 - 4.3307" (6 - 110 mm) | Count Range | 0 - 2500 Rounds |
WARNING
1.Strictly adhere to: diameter (12-150 mm), length (6-110 mm), wire thickness (0.12-0.91 mm). Exceeding limits risks spindle overload, tension arm deformation, or mechanical failure. Verify dimensions with calipers before winding.
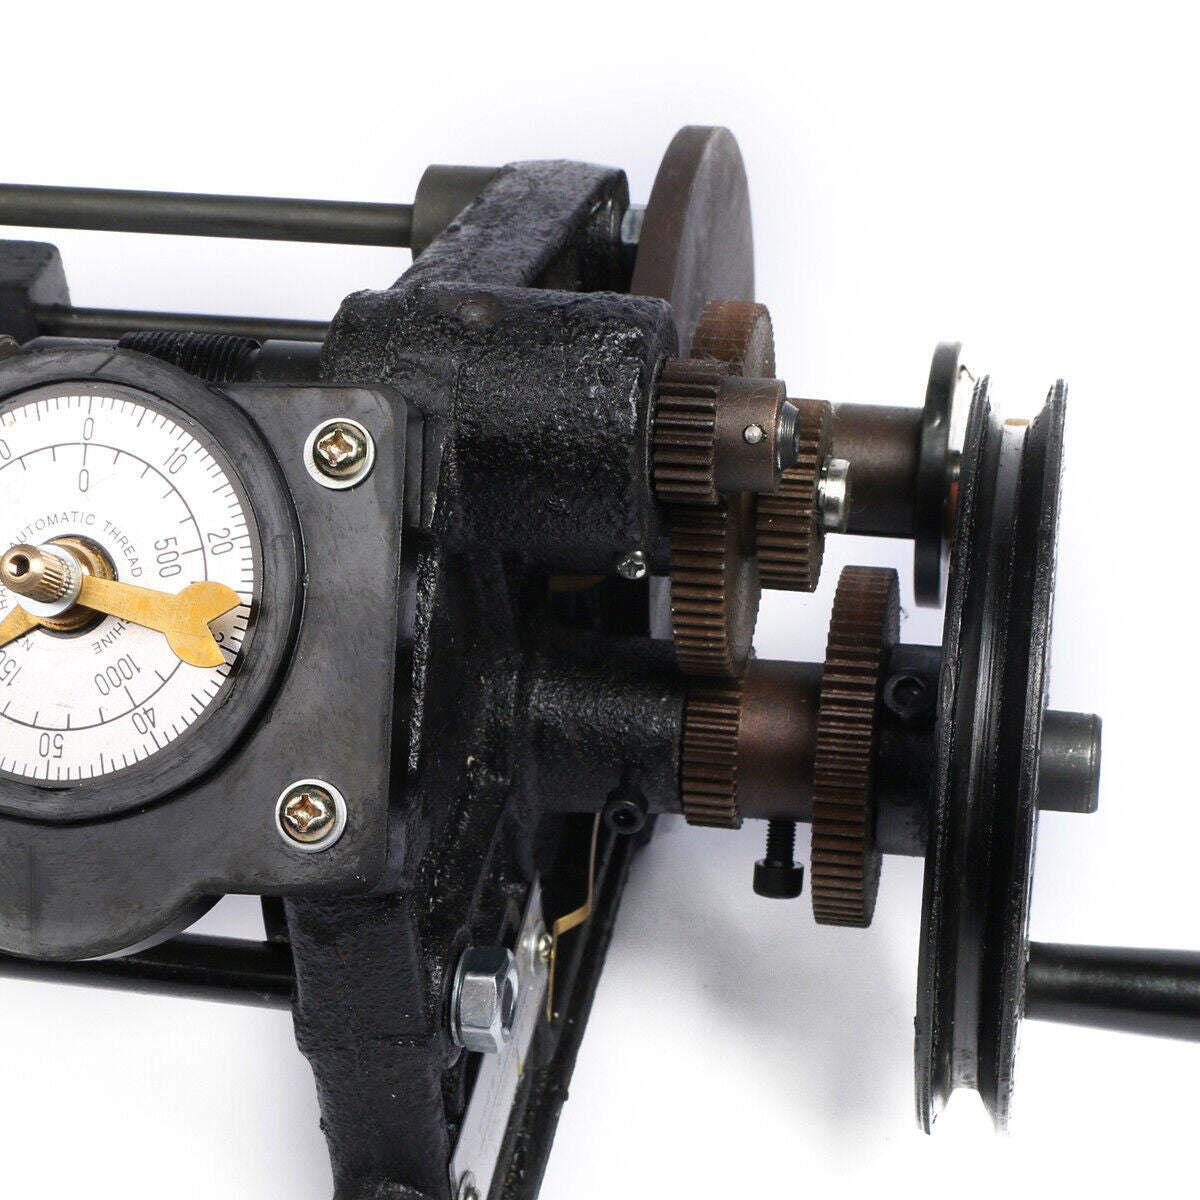
2.Thick wires (0.12-0.91 mm): Engage 69-tooth gear (1:1.5 speed ratio).Fine wires (0.3-0.8 mm): Engage 35-tooth gear (1:6 speed ratio).Incorrect pairing causes uneven winding or gear slippage. Confirm gear alignment via manual rotation before power-on.
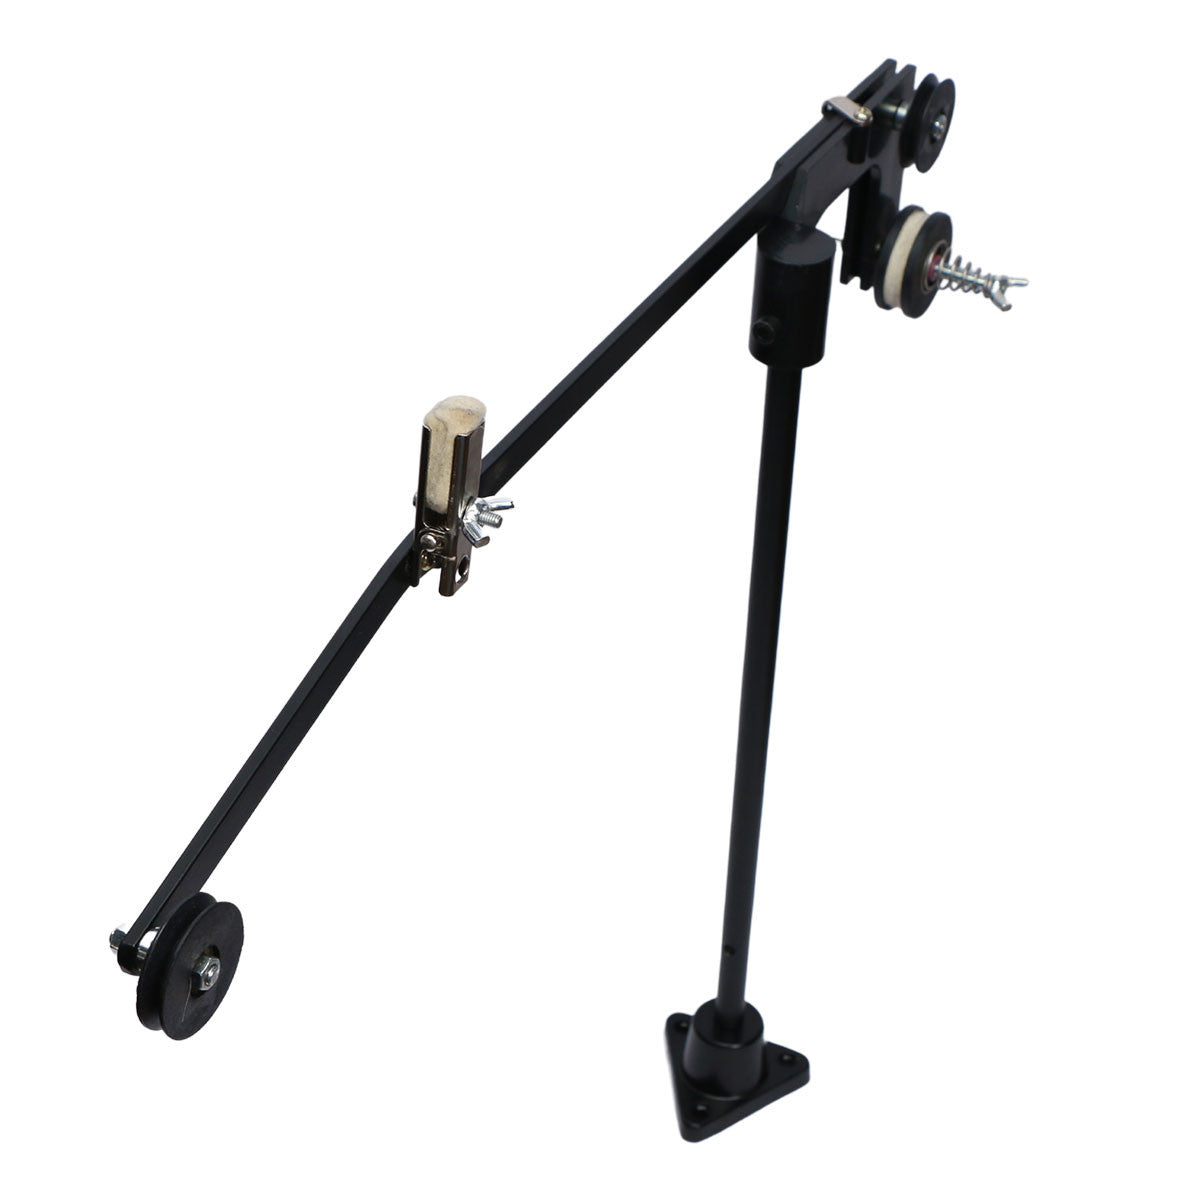
3.Rotate hand wheel when adjusting rubber wheel position to prevent surface damage. Clean with dry cloth to remove oil/dust; contamination degrades wire alignment. Avoid direct hand contact to minimize residue transfer.
4.After changing wire thickness, recalibrate long lead screw knob to match new wire size. Unadjusted screws cause inconsistent coil density or wire breakage. Test with 5-10 trial windings post-adjustment.
5.Set positioning ring to match target coil length. Over-travel risks lead screw damage or misaligned layers. Use mechanical stops for batches exceeding 50 coils.
Download user manual here